Jesus + Family + Food = Life

Search This Blog

Showing posts with label gift. Show all posts

Saturday, October 20, 2012

31 Pins: Day 20


I have a friend with twins, and their first birthday party is today. :)  I saw this idea the other day and immediately wanted to try it.  Seeing as how their mother is really good at making cakes and cupcakes, this fit perfectly.  I looked up a few ideas about gifts for twins, and this is what I came up with!

Original pin:


What is up with these super long, skinny pins???

I gathered my supplies - onesies, iron-ons, scissors, ironing board, iron, rubber bands, tape, cupcake baking cups

Of course my printer is running out of color ink...  Sorry!  It comforted me to know that they will only be wearing these for a short time. :)  I really wanted to write GF and DF on these, lol.  This family has taught me a lot about food allergies!

Don't be hasty, or you will iron something on upside down!!! :(
But seriously, is this the cutest twin thing ever?  Their mommy and I text often, so it was fitting.

I had to do this a few times to get it right, but fold the onesie twice and roll up a sock in the middle.

It should be bigger at the top (look like icing), and smaller at the bottom (like a cupcake!).
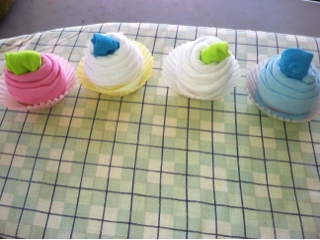
At first, I tried taping the shirt to get it to stay rolled, but then ended up using a rubber band instead.  Then I taped the shirts in the cupcake cups so they would not fall off.


I could have bought a cupcake box, but found this cute one in my collection instead.  What do you know?  They fit perfectly!

Saturday, October 6, 2012

31 Pins: Day 6


I am cheating on this one a little... there is no original pin.

I am the original pinner!

My Great Aunt Mary Ann (my kids' "Really Great Aunt") informed me of a great clearance sale at the Family Dollar.  They had fun place mats for $0.75 and tons of other cheap stuff.  We racked our brains to try to think of something we could do with them.  And I came up with a tool belt for kids. :)

The results:


I folded the placemat lengthwise not quite in half (leaving a couple of inches at the top).  Then, I sewed 4 lines in the bottom part of the fold to make 5 pockets of different sizes.

For the belt, I found an old cloth belt from a pair of pants I was not using and sewed a big zig zag across the top of the tool belt.  It ties in the back.

I grabbed a few art supplies at Walmart and am giving this to my niece for her birthday tomorrow.  Shhhhh, don't tell!

Elli tried it on to make sure it works.  Definitely some growing room!

Expense rating: CHEAP
Difficulty rating: EASY (if you remember to make sure the sewing machine is threaded correctly. :P )

Thursday, October 4, 2012

31 Pins: Day 4


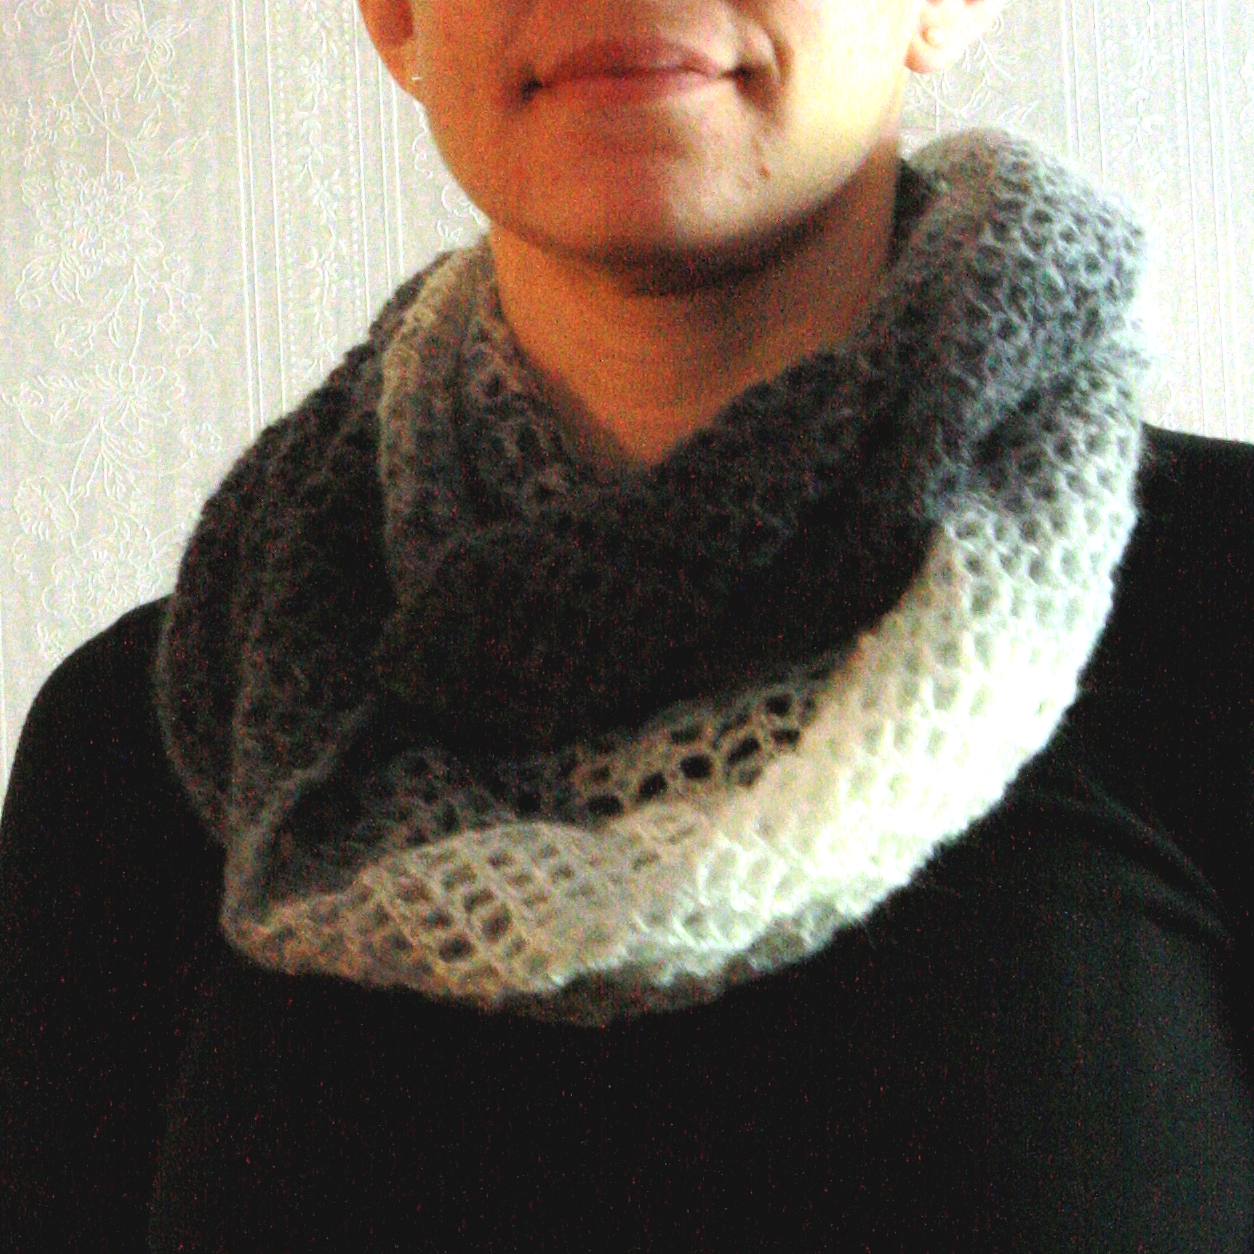
Welcome to day 4!!  I finished this one very early this morning (or late last night) as a birthday gift to my mom.  We saw something similar at the arts festival this summer (for $100!!!) made from bamboo yarn.  I said that I could make something similar, and mom put in her order. :)

I had to do a little research on yarn and stitches since I am very inexperienced in crocheting.  My Gram taught me way back when, and I never moved past a single stitch.  Thanks to Youtube, Amazon, and Pinterest, I found what I needed.

Original pin:
This is one that I found - needle in a haystack - and used as an inspiration.


For the yarn, I used Paton's Lace Yarn in Patina .  And here is the link to the stitch I used: http://www.youtube.com/watch?v=nUpzGnj2eH8 .  It took me several weeks, only being able to work in the evenings after the kids were in bed.  I started out a little rocky on the ends, but then got my act together, haha.  It is very versatile and can be worn at least 6 different ways that I can think of.

I had always wanted to be a model of some sort.  And now I am an aspiring photographer.  However, I did not want to be both at the same time.  But when you have no choice, you do what you have to!

The results:


the shawl

the double wrap

the vest

the twist

the reverse shawl

the hood

Success!  She likes it!  Now I need to make one for myself and a little one for E. :)

Expense rating: less than $10
Difficulty rating: easy if you know how to crochet, moderate if you don't


Sunday, July 29, 2012

Beeswax (updated with pix)

My first attempt at working with raw beeswax was a partial failure, but a great learning experience.  I took lots of great pictures, but cannot find my 4 gig SD card anywhere. :(  Please pray for pictures to be found so I can update.

Anyway, the second attempt yielded better results.

If you want to give it a shot, here's what you need to do...

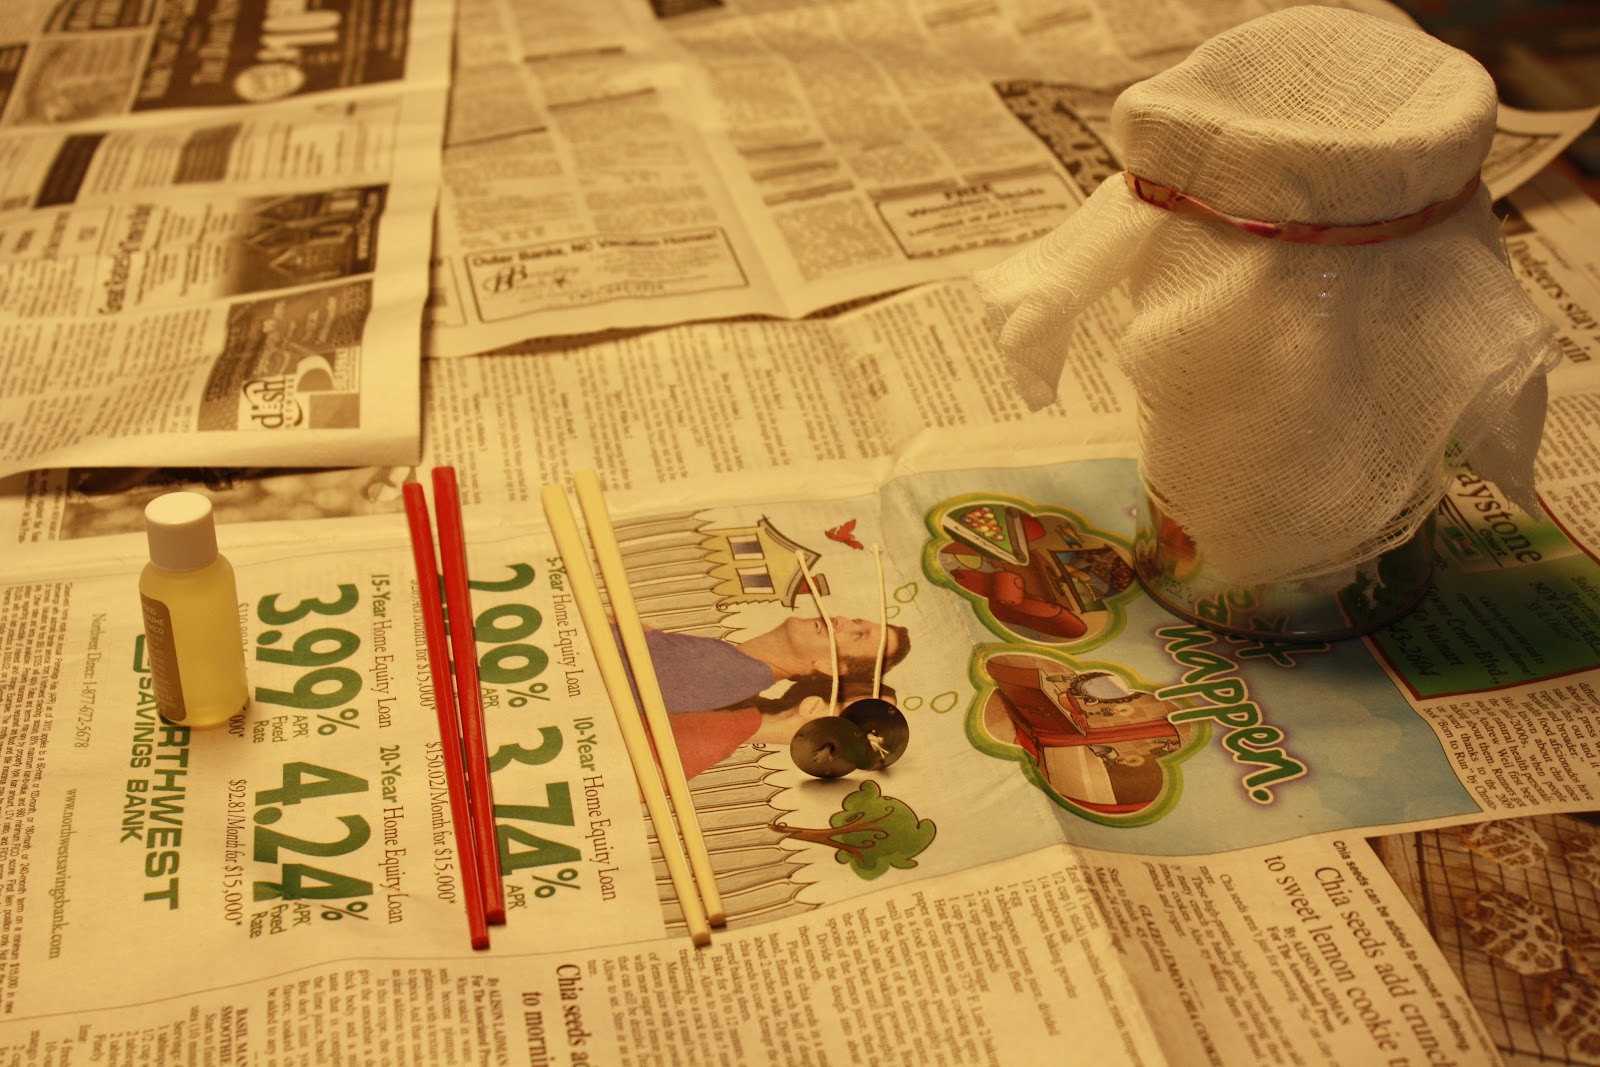
Step 1: Collect all the things you need to make candles or molds (double boiler, cheese cloth, medium can/wax melting pot, canning funnel, molds/glass/etc., wick weight/tab, wick, scent)


IMPORTANT - you must get the right size/type of wick for the type of wax you are using and the size of the candle!!!!!  Do your research!  One of my mistakes is that I got a thin wick that drowned when I tried to light my first candle.

Step 2: Soak cappings in warm water (raw beeswax contains lots of honey, pollen, and maybe even some dead bees!), squeeze out like a sponge, and lay on towel to dry for a few minutes.

Step 3: Melt wax in a double boiler.  Choose a pot you will not use for cooking ever again.


Step 4: Strain wax through 3-4 layers of cheese cloth over a canning funnel into another container.  I used a baked bean can that I bent to make a pour spout.   (The second time around, I decided to put the cheese cloth over the funnel and it worked much better).

Step 5: Add scent (look at directions on package for amount).  I used lemon and sage for a nice summery smell!

Step 6: If you are making candles, you would already have your wicks positioned (got the chopstick idea from my Philanthropic Panda), but if you are making molds, pour (there will be some honey at the bottom, avoid pouring this into the mold.... this was mistake number 2 of my first attempt).  I used a clearance star ice cube tray from Walmart!  Silicone works better, I'm sure, but I am happy with the results.

Allow to cool, then pop out!  These can be melted in a warmer (with a flame... electric is not hot enough) or set out for decoration.  Enjoy!


Big, huge THANK YOU to the wax donors!!! ;)


Related Posts Plugin for WordPress, Blogger...